

The GoSpotCheck app is cross-platform and available in both Google Play and the App Store. Once you log in, the content displayed is what you should have access to in terms of both locations and tasks you can complete. Currently, it is available in English, French, Spanish, and Korean, but more languages are added as customers need.
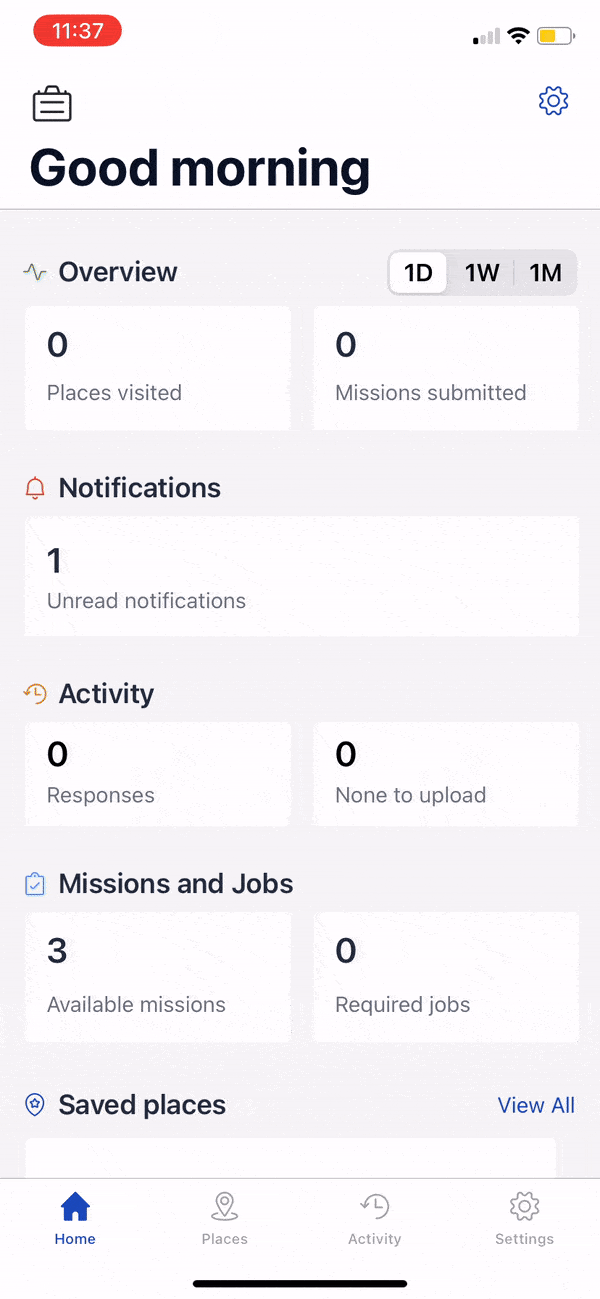
On the home screen, there is a summary of the user account and notifications. You can also access past activity to review historical data, but we are going straight to Places and selecting what we want to do here. Let’s start the Demo: Planogram Compliance Mission.
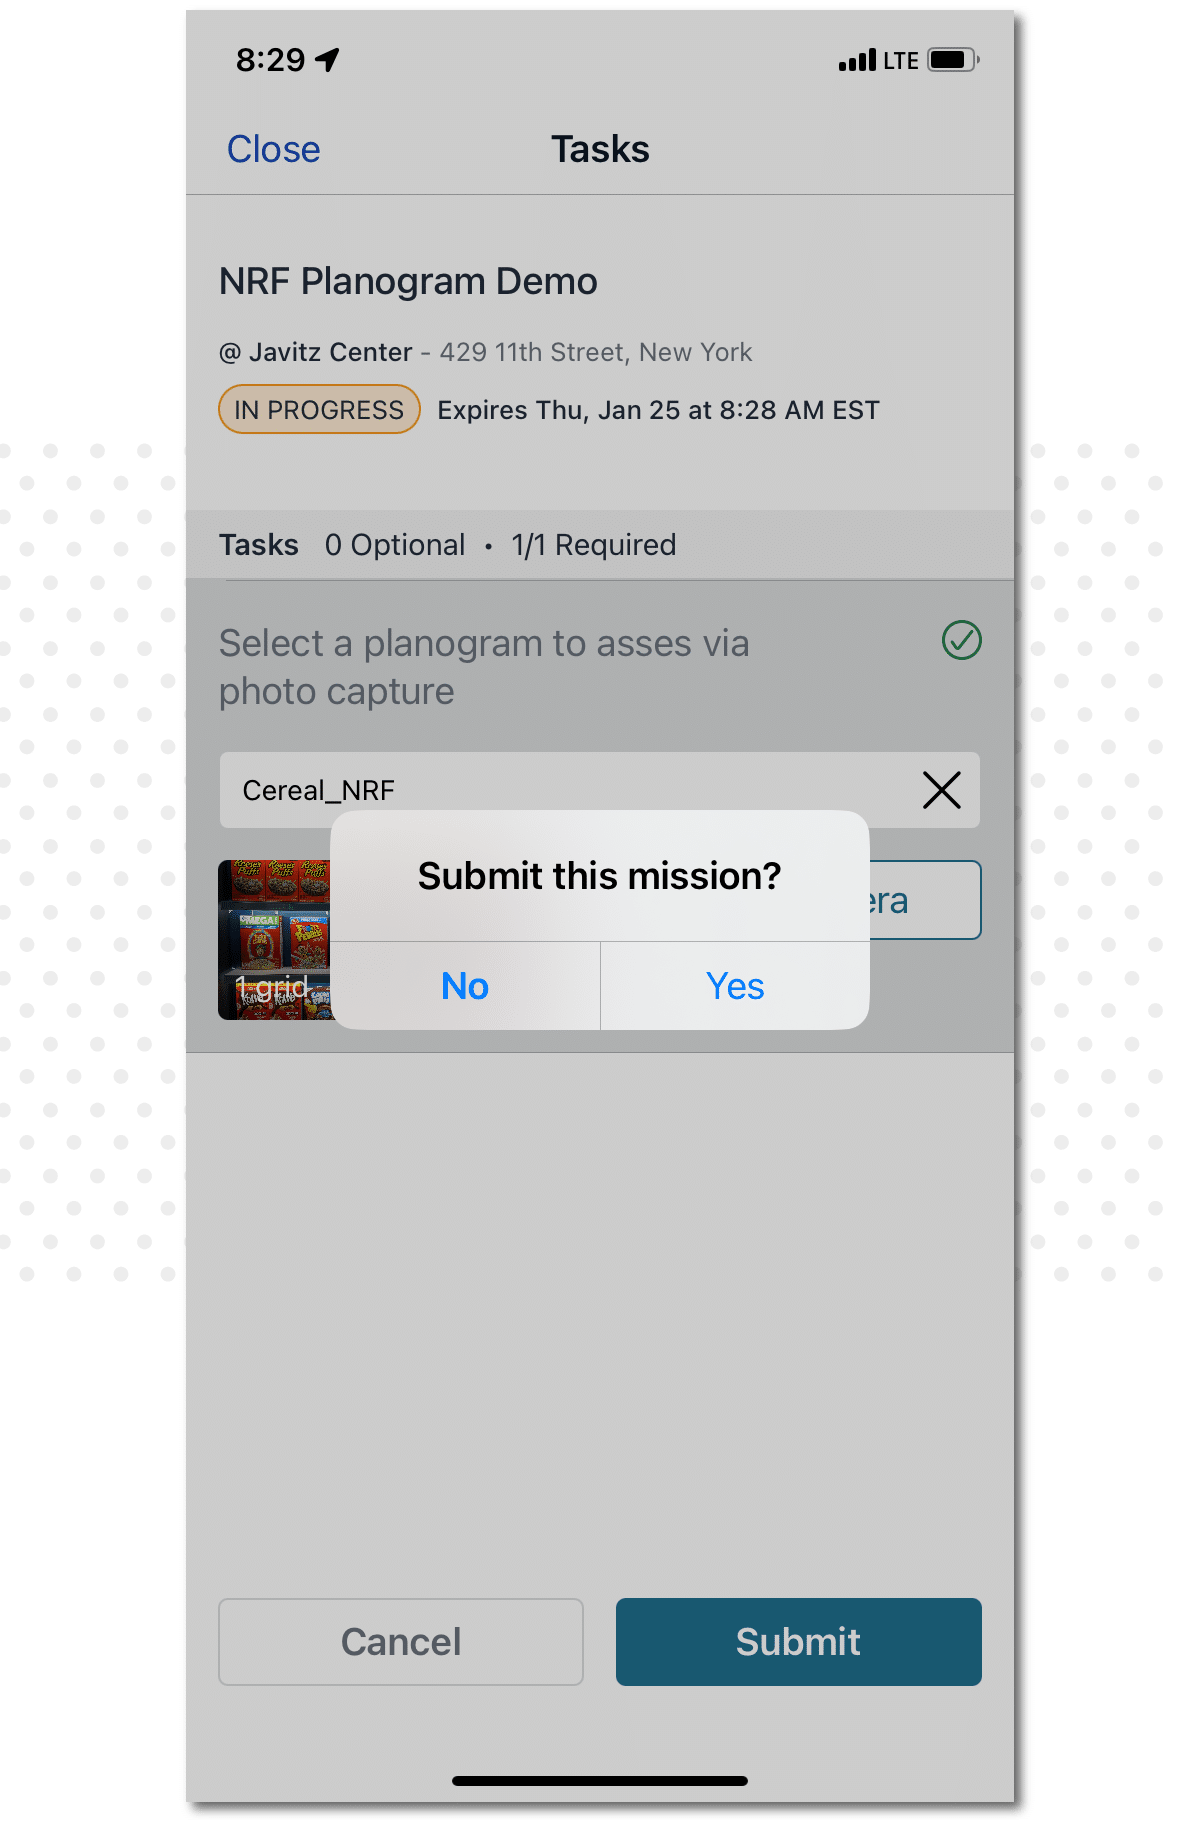
Within a Mission, we can display a list of survey-like questions to request follow-ups, log notes, and track other KPIs, but let’s go straight to the photo capture.
This is Grid Capture. Users can build a panoramic view of shelves, coolers, or floor displays at their own pace. The Ghost Overlay guides photo capture, ensuring consistent distance and perspective. This feature enhances photo quality and improves product, empty space, and price recognition. Automated messages alert users to blurry images and incorrect angles to maintain high quality.
Once the capture of this shelf is complete, the user can add more photo captures or complete the Mission. Let’s submit to see the recognition results.
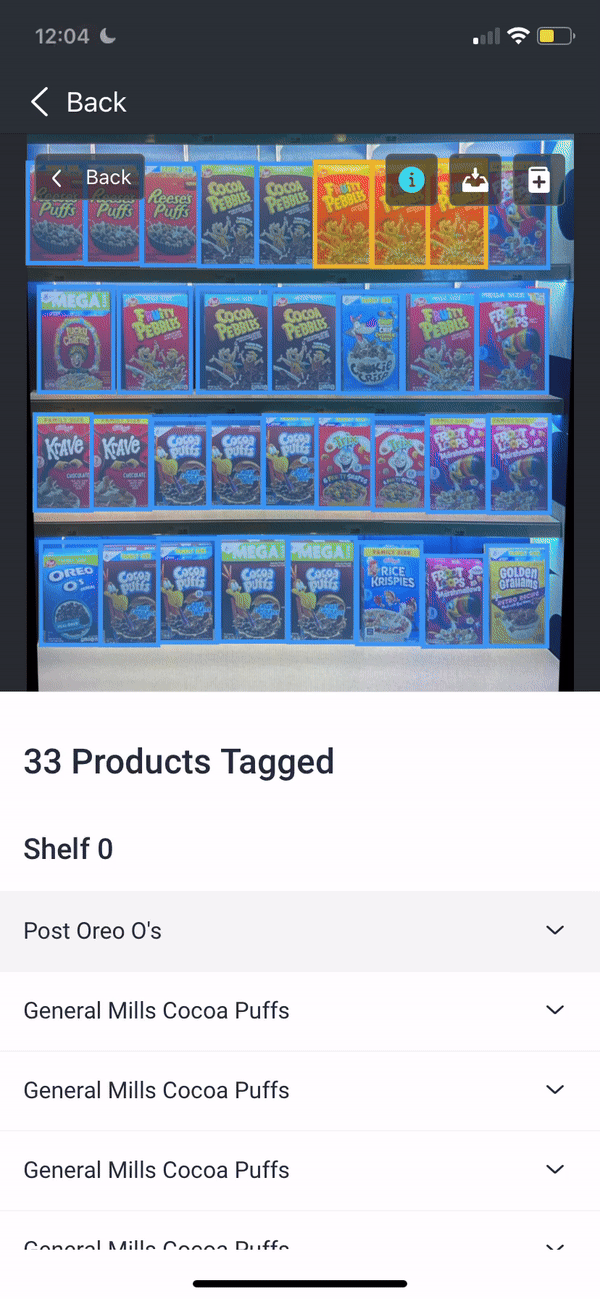
Once we submit, the stitching algorithm removes the duplicated overlays and combines the pictures into a single holistic view. Note that the grid capture with overlay and stitching can be embedded into other apps via SDK, and still send user photos to our cloud.
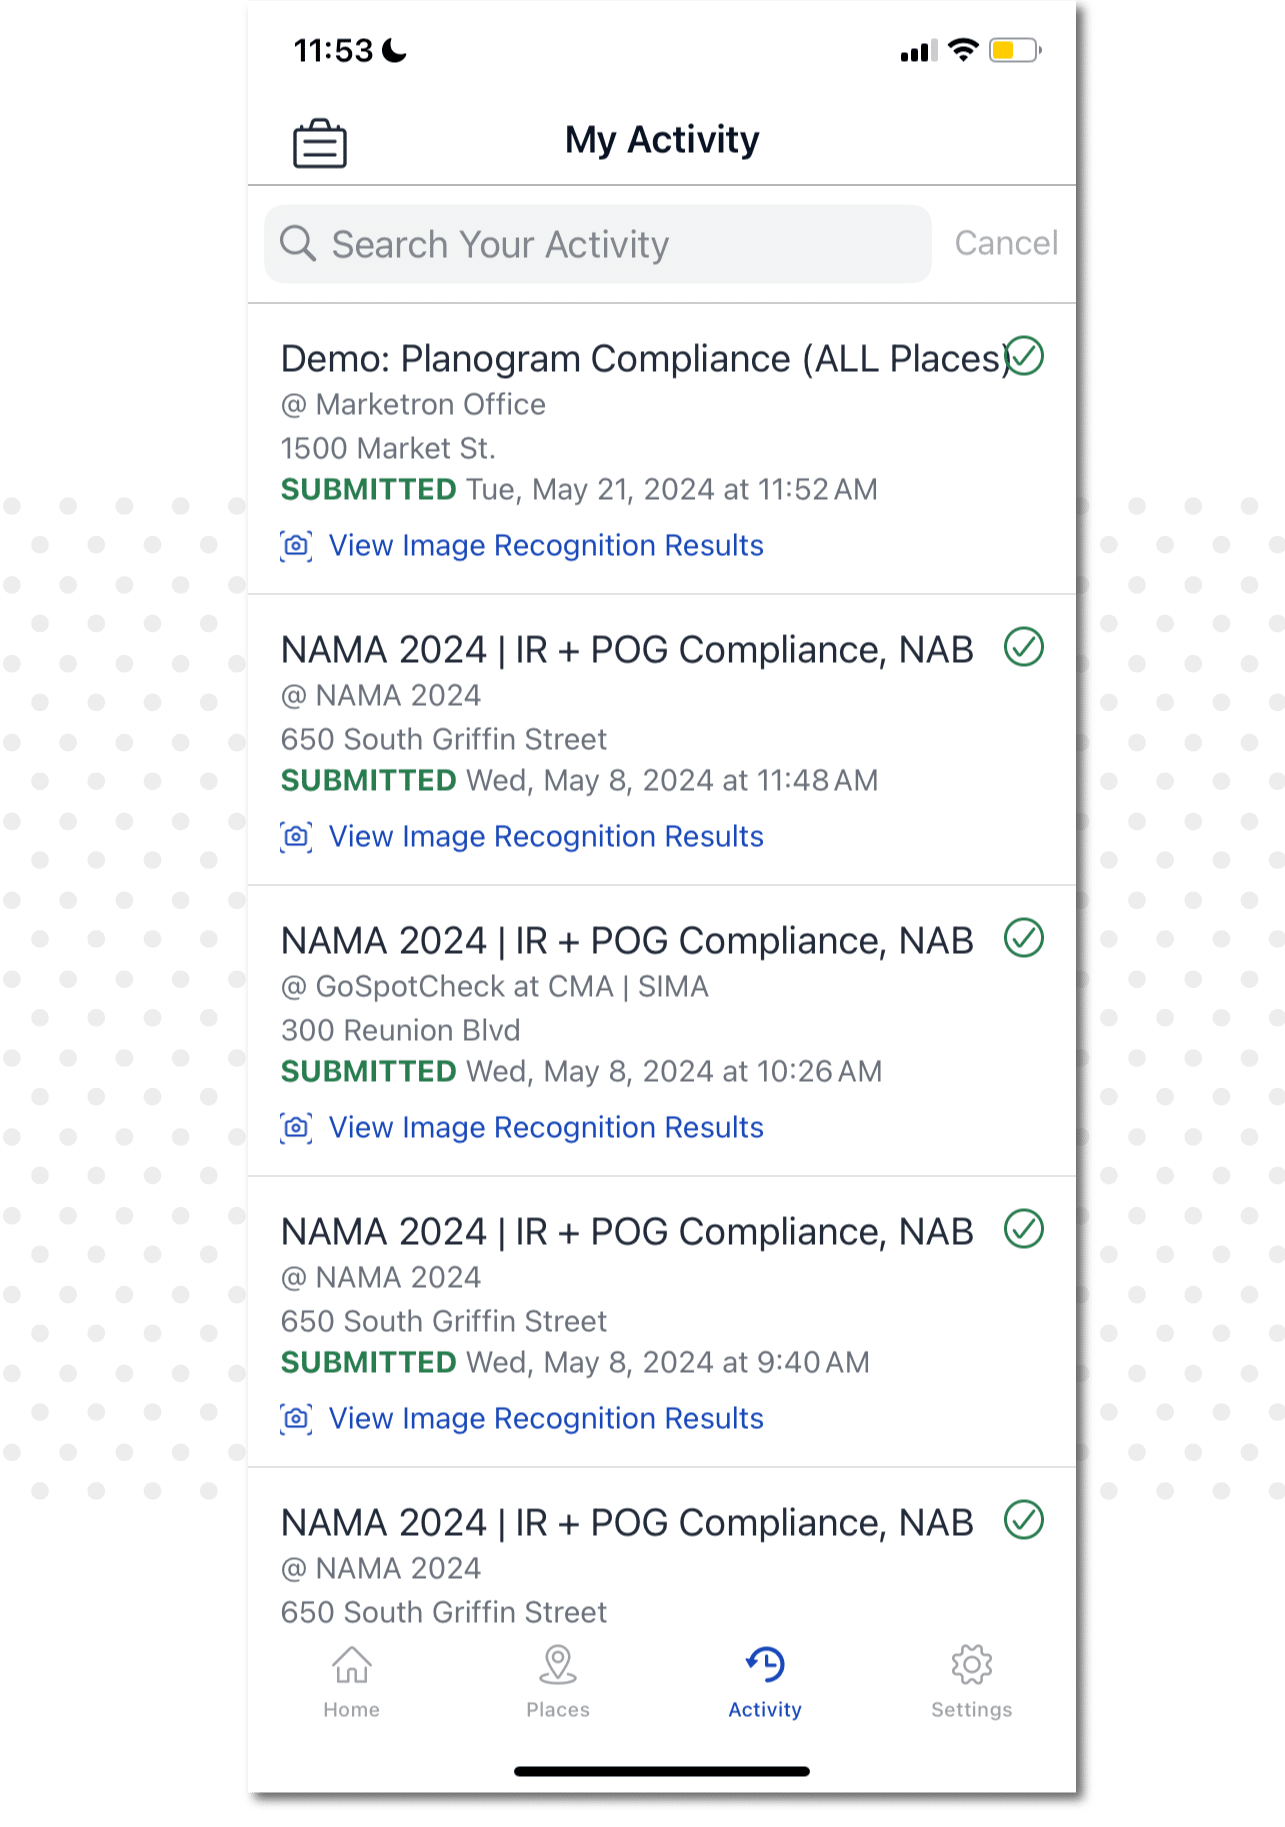
Here, we can already see the visit record appearing under my activity. This submission is associated with the place itself, so the next rep could review my submission or any previous record along with the photos and notes. They can even update contact details from the app for each place as no one knows the situation better than people on the ground.
Let’s click on the View Image Recognition results. Usually, the results are back within a minute but it can vary based on the amount of images submitted or connectivity levels.
There are two sections of the results: charts with a count of products per brand, category, and supplier, and the images review where our stitched image resides. Let’s see what got recognized!
You can see the bounding boxes around all products that were detected. We can click on any box and see SKU-level details on recognized products. We also have the option to retag items if they were tagged incorrectly. We can do the same for products that did not get recognized—we can nominate them for tagging and prioritize them for review without feeding straight into the algorithm to prevent fraud.
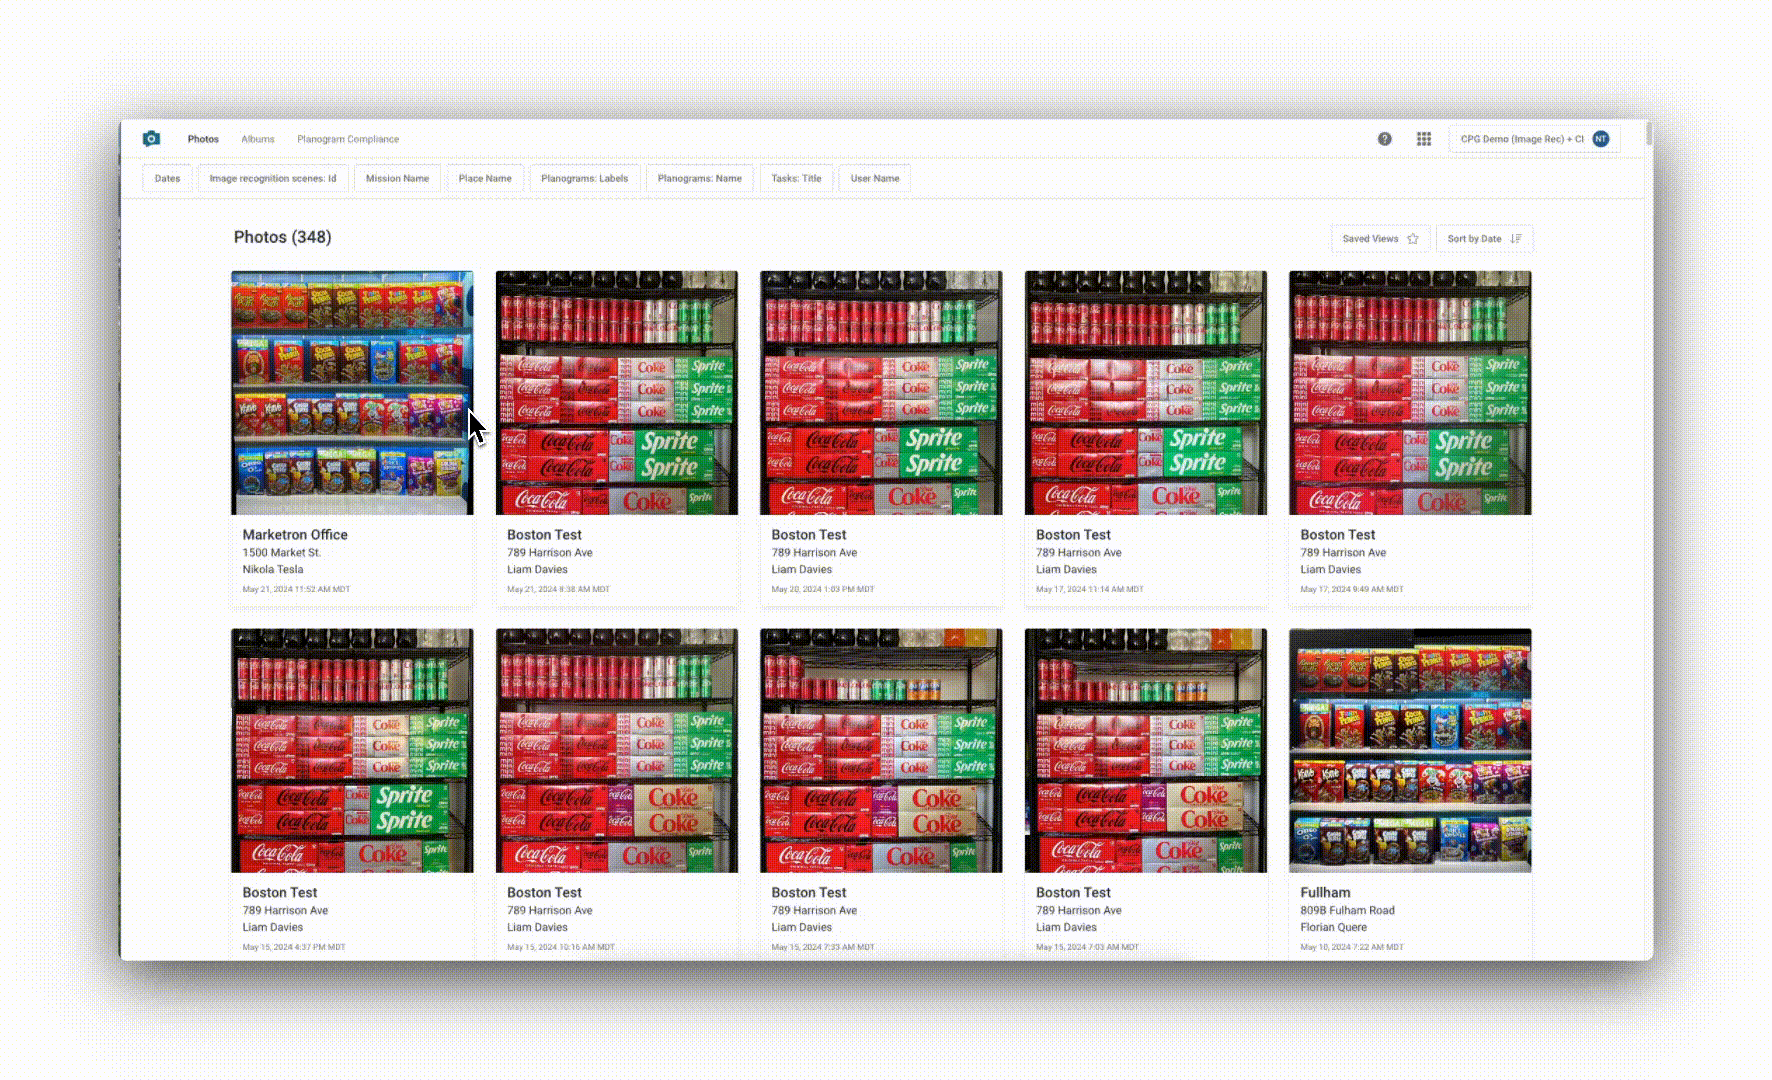
This mobile reporting is not the only visual output of GoSpotCheck, as a whole suite of photo reporting is available on desktop. This shareable gallery allows you to filter photos by any user, location, or brand parameter, digging into each photo along with photo tags and even creating dynamic exportable albums.
Here is the photo we just took; let’s see what data comes back along with each recognized product. Each of these parameters (plus many more!) can feed into your data warehouses, interacted with via APIs, or flow into our Looker dashboards.

By submitting this form, you agree to the FORM Privacy Policy.
FORM is a mobile digital assistant for frontline teams. Our field execution platform guides daily tasks, speeds data collection, boosts communication, and gives leaders real-time intelligence to drive the right action, everywhere.
Solutions
Industry
Capabilities
Use Cases
Company
Keep an eye on your inbox, you’ll be hearing from our team soon. In the meantime, click here to take an interactive tour of FORM OpX (for operational excellence), or here for a tour of GoSpotCheck by FORM (for market execution) so you can experience it for yourself!